There is a key moment in our snowboarding lives that mark our transition from novice to experienced rider. It is different for everyone but it leaves us all with the same confident understanding of our skill level and riding style.
For me, that moment occurred once I was able to easily make adjustments to my bindings on most boards.
When I learned how to mount snowboard bindings onto my board correctly, it felt like I had truly leveled up.
We will be going over the different mounting systems that can be found on most snowboards. Don’t worry, it’s not as difficult as you may think and all that will be required of you are a few basic tools and your dedication.
The Tools You’ll Need To Mount Your Snowboard Bindings Successfully
The following tools are what is needed in order to mount snowboard bindings successfully. While there may be some boards that will require more than what is mentioned here, for a majority of boards these tools will do just fine.
Whether you want a forward lean with your est bindings, a setback stance, a reference stance, or a forward stance with a crazy front binding that only requires two screws, this list has got you covered.
Tools
Philips Head Screwdriver
For getting the screws in and out. Upon determining your stance width and binding angles, you will screw your snowboard bindings into place using this tool.
Wrench
Used so that you can remove the bolts located on the ankle binding straps. Determine whether you want tight straps or loose ones and then secure the bolts back into place with the wrench.
Screws
Used in order to secure your new snowboard bindings onto the snowboard once you have found a good starting point.
Oh, The Mounting Systems You’ll See
When mounting snowboard bindings onto your snowboard, you will find that there isn’t one singular system. Snowboards come equipped with one of several mounting systems and these systems can be identified by the screw pattern on top of each board.
Different bindings will require different mounting systems. Let us go through the most common mounting systems that you will encounter throughout your snowboarding life. You will need to see them all to mount snowboard bindings with confidence.
2 x 4 System
I began with this one because it is by far the most common mounting system around unless you are using Burton boards.
This system has the middle end and middle front of your board equipped with two lines of six holes each, one on top of the other. Within each line, the holes are 2 centimeters apart from one another.
This system gives you greater control when choosing your desired stance because you have far more options to choose from. Despite the number of holes, you only need four screws in order to secure your bindings onto the snowboard.
4 x 4 System
While at one point this system could be seen more often, this is no longer the case. You are far more likely to come across one of the other systems mentioned in this overview. Although, the 4 x 4 system can still be found on snowboards for children.
The 4 x 4 pattern is similar to the 2 x 4, either end of the middle of the snowboard has two lines of holes, one on top of the other. Except that each line is 3 holes long instead of 6.
Each line of holes is 4 centimeters apart from the other and each individual hole is 4 centimeters apart as well. Once again, much like the 2 x 4 system, you will only require the use of four screws to secure your bindings.
3D (also known as 3-Hole) System
A while back, burton boards would feature this exclusive mounting system. It looks far more intricate than the previous two systems on this list. Despite this, it requires only three screws per binding as opposed to the prior four.
Burton boards with this system have you tighten your front binding and rear binding using a triangular pattern. It looks cool and is not as complicated as the hole layout would suggest. Keep in mind, that only old burton snowboards have this system in place.
All current and future burton snowboards use and will use the channel system.
Channel System
Upon first glance, it almost appears as if all the screws have been thrown out in favor of a more zipper-like design. This pattern sees the use of two long lines that adorn either end of the board. Here’s how it works.
There is a track insert on which you attach your bindings onto. You then take this track insert and move it along the channel (the long line where the holes used to be) until you find your desired location.
Once you have positioned the track inserts in their ideal stance width you screw them into place. You can even vertically align the bindings on your board. Any stance width can be achieved with this system and it is by far my favorite of the four mentioned here.
Steps To Mount Bindings on Snowboard
The following set of steps will work with just about any board and bindings on the market, only minor tweaks will have to be made for certain mounting systems.
Most riders will know how to do this but for those that don’t, it is a vital skill to learn. Otherwise, you will find yourself completely dependent on others and this could lead to all sorts of mishaps. They could leave behind loose screws or apply too much pressure, breaking something in the process.
The only way to achieve your desired angle and stance is to begin mounting bindings on your own.
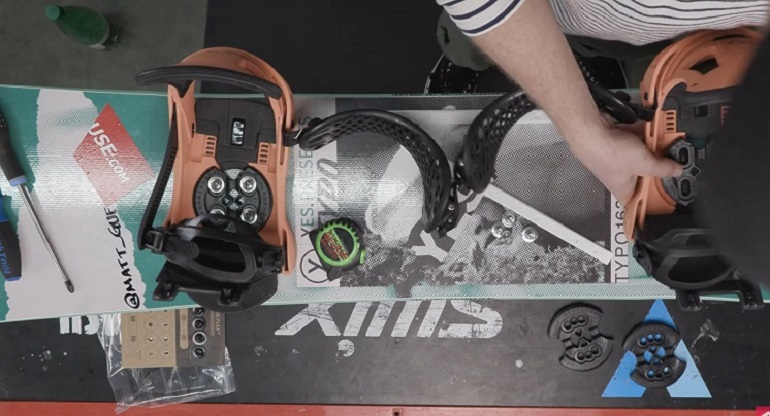
Ensure Binding and Board Compatibility
First, you will want to make sure that your bindings are compatible with your board. If it appears that they are not, then don’t worry as there are universal discs that you can purchase that will make your gear compatible.
Some Park Bindings also come with compatible disks of their own.
Select Your Stance Width
Establish the width of your stance using the center mount screw holes as your starting position. Adjust your left foot and your right foot as needed.
You want to determine a distance that will feel comfortable for your particular style and riding goals. Pay attention to your front binding as it will be your leading foot.
Dig Deep, Find Your Stance
Different stances will change the direction and position of each foot. For example, those that are new to snowboarding should use the duck stance. In this stance, both feet are angled in opposite directions.
Each stance has its own particular use. Once again, you will have to determine what are your goals and then research the correct stance for them.
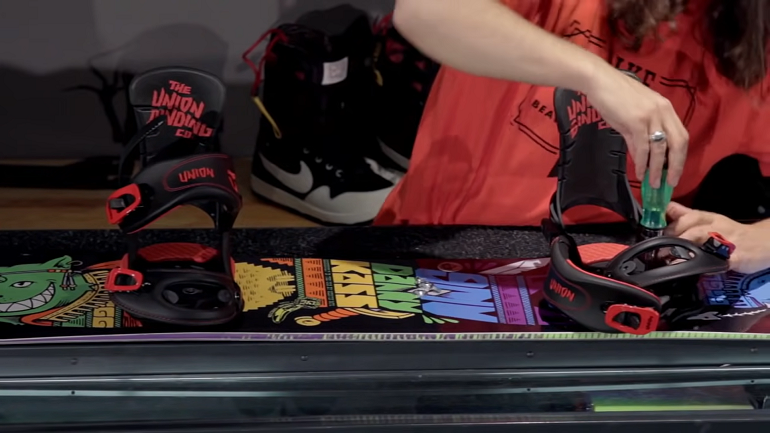
Place The Bindings Onto The Board
Using all of the information from before you should have a location in mind. Place the front binding and rear foot snowboard binding into their positions. Proceed to the next step.
Angle The Direction For Your Bindings
The direction of your bindings is determined by your stance. As I stated before, beginner snowboards will want to take advantage of the duck stance which will see you position your left binding at a 15-degree angle and your right binding at anywhere between a 0 and -6 degree angle.
The angle of your right foot and left foot is mostly determined by your chosen stance. Of course, all of this will affect your standard stance width.
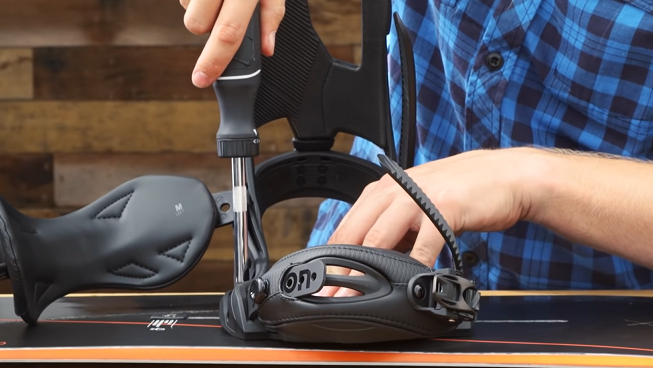
Strap Them In
Make sure that your bindings are positioned properly and begin to screw them into place. The mounting system of your snowboard will determine the number of screws needed but you shouldn’t need more than four screws for each binding.
My Final Thoughts
The power that comes with being able to set up your own equipment and modify them at your leisure is invigorating.
Remember that you are likely to encounter a board with the 2 x 4 system in place but the channel system and its ability to virtually accommodate any bindings available is fantastic. Granted, you will need to purchase the required compatibility add-ons.
If you don’t like your chosen stance then change it, the more you fine-tune your gear the better you will get. Don’t be afraid to ditch the duck stance and switch to a regular stance. Adjusting yourself and your gear is the name of the game.
0 Comments