I gifted snowboard traction pads to a fellow snowboard rider. Are you awed by my generosity? Don’t. I did it as a favor to myself.
I was still on the beginner’s slope as it was just my third day when another rider slammed into me from behind. The irony is we shook hands before this incident, you know, befriending each other. Now he, with his devil may care attitude, is complaining that I have changed. Nah! I just can’t walk.
The first lesson you learn from this is that the devil always wears Prada. The second is, be aware of your surroundings when you are on snow. A bear, moose, or a human in that form may appear in the background – sucking the fun out of the game.
Third lesson is to go fully equipped, I was missing padded shorts while he was missing a compatible snowboard and stomps. You can check the best snowboard brands to pick yours.
Now you must be wondering why I gifted a stomp pad? Because I want to live. A stomp pad possesses a grippy top sheet surface and an adhesive bottom, used for extra stability and grip when riding between ski lifts. It holds your horses when you fail to do so.
In this article, I have explained what wonders this tiny magical thing can do. Have a look and better go prepare next time.
What is a Snowboard Stomp Pad?

The best snowboard stomp pad, also known as a traction pad or a deck grip, is an adhesive accessory in a sticker form that sticks to the snowboard near the snowboard bindings you are not riding with. It gives necessary steering control and grip to that foot when you are riding with only one foot.
For instance, if you are surfing or skiing using only your front foot, you can place the sticker near the back foot binding on the snowboard. These sticky pads increase traction on the snowboard and provide terrific grip when riding drag lifts, scooting along flat sections, and getting off the chair lifts.
It sticks in the center of the board or near the binding of the foot you take out when not riding with it. Sometimes you fail to clip that foot you took out back into the binding, or you do it intentionally, here is where stomp pads come into action.
If you face such a situation, you can always resort to putting your foot on the stomp pad. This way, you will get the grip you want until you reach a safer spot.
What Is a Snowboard Stomp Pad Used For?
A stomp pad is your savior as it offers essential control when scooting along flat sections or riding drag lifts. Here I have mentioned some of its services, you can get benefited from.
- A stomp pad is used to give riders control and stability when skating the lift lines or flats.
- You can use it for nailing one-footed tricks and landings.
- It provides enough traction for the riders’ free foot when getting on the lift or exiting it.
- One of its tiny yet effective use is to utilize it for clearing snow from your boot before strapping yourself in.
Do I need to Install a Stomp Pad?

No, you don’t need to unless you want to. A stomp pad is not a necessary accessory which makes it a matter of personal choice and skill level (to an extent). However, if you are a newbie, I’d recommend you buy one for safety measures.
I mean, you might face trouble getting off the lift, and I don’t want you to hit the route to hospitals but new terrains.
So, consider the traction pad your friend – someone who can boost your confidence when things get complicated.
How to Install a Stomp Pad?
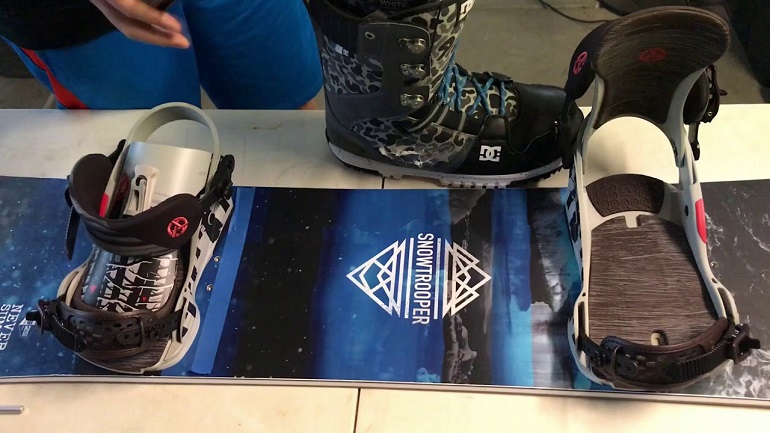
Let’s discuss its placement first, then we will go to its how-to part. First thing first, its placement depends on your comfort and style. You can place it near the unstrapped binding (on the inside), or in the middle of the board. You can also stick it near the strapped foot if you are more comfortable this way.
Now, let’s talk about how to stick it. Let me advise you not to stick it to the board when the snowboard is wet or cold. It will only shorten its life, and you’d be running to snowboard shops to buy another one after some days. So, follow the steps below for effective mounting of stomp pads.
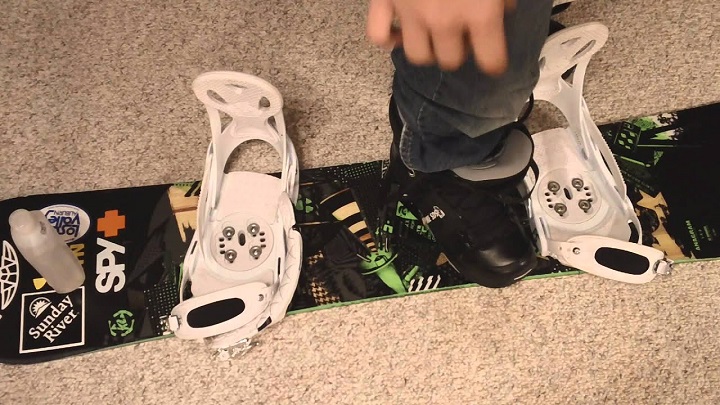
- Place your snowboard flat on the ground and mount your bindings and boots on it.
- Lean your back foot parallel and inside the back binding (with your foot sides touching the side of the binding).
- Take markings on the board where the inside and outside of your boot touch the snowboard.
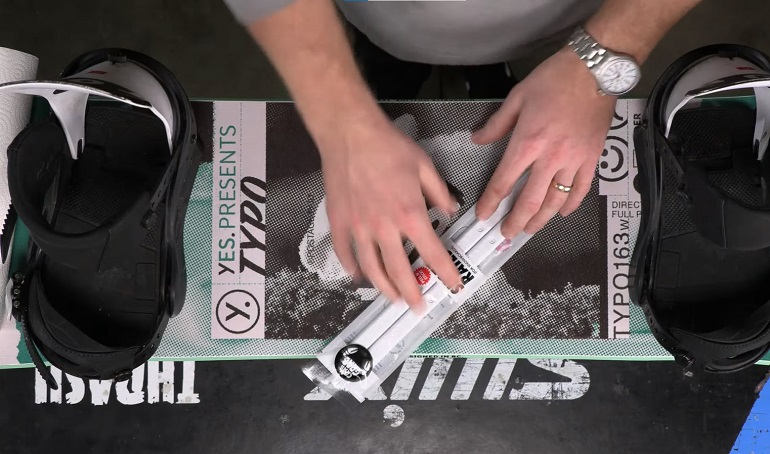
- Clean and dry the snowboard, make sure it has room temperature.
- If the board is cold, heat it with a hair dryer.
- Peel the backing of the stomp pad and heat it too with a dryer.
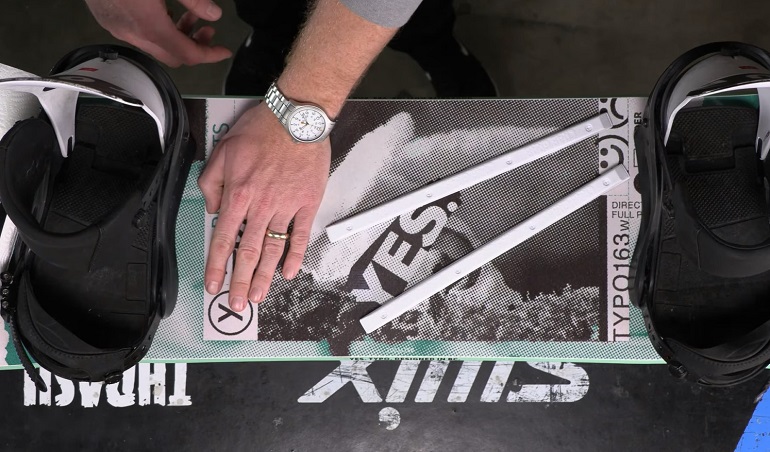
- Now place your stomp pad anywhere inside these markings.
- Press as hard as you can and let it dry for 24 hours.

How Much Do Stomp Pads for Snowboards Cost?
Well, here’s the good news, it doesn’t cost a lot. Spending only 10 dollars can perfectly keep you well balanced and upright on the slopes. If you are interested that how much snowboarding costs check out our article.
If you want to spend less time on your backside, go grab this pocket-friendly accessory and enjoy. Companies like Crab Grab will cost you around 30$ for a stomp pad, but you can make it even less if buy one on sale.
Types of Snowboard Stomp Pads
Rubber Stomp Pad
Our very favorite rubber stomp pads are the easiest to find and work. The reason behind its working well is its flexible nature and large surface area. Yes! The rubber used in the stomp pad submits to the movements of your snowboard. Surreal indeed!
Besides its flexible nature, its size also does wonders as it ensures you get that terrific grip and enjoy the ride. Moreover, the rubber stomp pads stay stuck fast in almost all conditions.
Foam Stomp Pad
One of the best things about the foam pad is it doesn’t get out of its shape. You heard me right! It deforms less as compared to rubber under changing temperatures. The rubber can go hard when subjected to cold weather, but the foam resists.
You can cut these stomp pads in almost any desired shape as it is easy to cut through. Moreover, the foam stomp pads are much lighter than the rubber ones as well as come cheaper in comparison to the other two.
Metal Studs
Riders looking for bags of customizability should opt for metal studs instead of other stomp pads. The metal studs are used in place of pads and come as individuals.
This means they come in packs of multiple small studs, which can be stuck on the board individually to make a design or pattern. Yes! You can easily stick individual studs in the pattern that works best for you. No doubt, it is the most versatile and customizable type as it has to offer so many – desired shapes and good traction.
Rubber studs are also available in the market, giving tough competition to metal ones. Although it’s on you to choose, we think rubber studs win against metal studs. You may be thinking metal studs can dig deep into your boots but believe me, both work fine, with rubber studs working a little more finely.
Combos
These are a blend of any of the above. Stomp pads that are neither plain nor flat or studs or mats make a combo pad. They feature the best qualities of both styles, letting you have the best of both worlds. Combos are manufactured in strange shapes and different materials like aluminum or cork pads.

Conclusion
Snowboard stomp pads offer a lot of grip against the inevitable slippage you may face when you skate between lifts. Being a beginner, you will desire a lot of stability in your early days, as while surfing, you will be tackling falling, slipping, wrong stances, and whatnot.
And I’m sure you don’t want to use crutches at this age, at least. So, here enter the heroic stomp pads in the scene with their magical powers. Now, buying and using one is a matter of personal choice. However, for beginners, it proves damn helpful. So, worry no more and slay the terrains with a fearless ride.
0 Comments