Before you speak of turning, I would like to ask you if you have mastered garlands, chairlift, skating, J-turns, skating, and other basic techniques like these? If not, go back to learning ABC. There is no place for impatient humans.
However, if you have already mastered those basics, allow me to start briefing you on how to initiate a turn like a pro.
Alright buddies! All you need to think about is your head, shoulders, hips, knees, and feet. Not to mention, all these body parts are going to play a part in the execution of a successful turn.
In this article, I will mention the key steps you need to turn on a snowboard. Read through it, practice it as per the given guidelines, and enjoy!
How to Turn on Snowboard?
Turning can be made easier if you understand each phase involved in a successful turn. Turning can feel hard to master as you often feel like a failure in keeping track of everything at once.
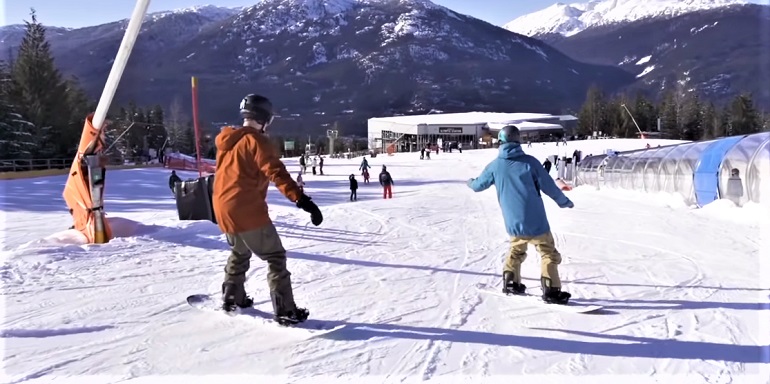
I know, you feel like things are moving too fast. However, it is all about executing a set of simple movements. So, my friend, you only need to keep the focus on these: initiation, control, and finish.
Initiation
How do you approach the task of initiating a turn? Yes! That’s an important question. Do you start it from the top down? If yes, point your gaze exactly in the direction you are going and allow your body to follow naturally. I mean, your hips and shoulders should not be rigid.
Whatever type of turn you choose to attempt, let your lower limbs work together to flex, and gradually tip your snowboard on its edge.
Control
While controlling your deck, keep your eyes on the fall line. A fall line is an imaginary line that goes straight down the slope that you are meant to follow.
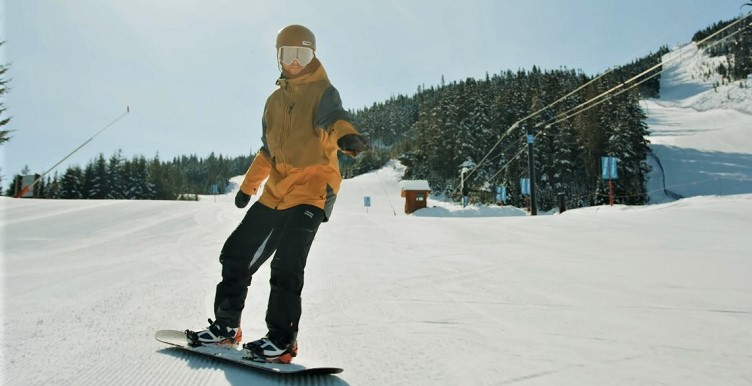
While allowing the nose of the snowboard to point downhill, start holding the edge as you pass through the fall line. In doing so, keep your body weight balanced and still. Keep your knees bent, your back straight, and your head up.
After you are done accomplishing this stance, start by putting pressure on your front leg at the beginning of the turn and then digging harder through your back leg toward the end of the turn. You should also need to know how to slow down on a snowboard perfectly while snowboarding on mountains.
Finish
To finish, begin to ease up your lower limbs as you advance toward the end of the turn. Allowing your deck to ride flat for a moment might help too. Next, repeat the process all over again to initiate a turn in the opposite direction.
Steps for Learning How to Make Snowboard Turns
Let’s look at the mandatory topics you need to ace for terrific turns.
Perfect Snowboard Alignment
Now that you have done learning proper posture for turns, let’s focus on the proper alignment of your snowboard.
You should place your deck on the fall line of the slope and while standing on it, position your shoulders parallel to it and the terrain.
Bend your knees a little, and make sure your upper body works together in sync with your lower extremities. Remember, your head should be pointing downhill too.
One more thing, while riding your deck in the direction of the turn, never raise and point your arms in the same direction.
I dare you to tell me something worse than that. It will surely put you off balance. So better not waste your precious energy on arm flailing, rather focus on your feet alone.
Practice Foot and Knee Movement Standing Still
Let me tell you one thing, your upper limbs and torso should rest still. Only your lower extremities should be working. Always remember! Turning begins with your knees and feet.
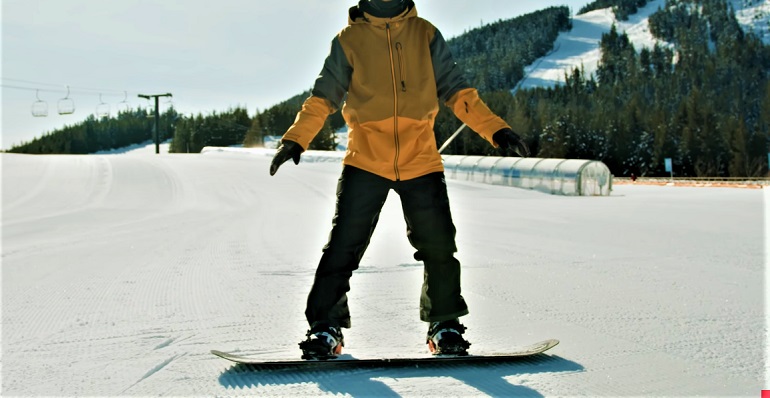
Practice makes a man perfect. Ask your friend to hold your hands while your practice the movement, or try it alone while holding onto any fence.
Shoulders
Shoulders play an important role here. Although they rest still, their position matters the most.
Consider your shoulders as your steering wheel because they will work closely together with the deck. Wherever you plan to turn, just turn your shoulders and head, and your board will follow through by going in that direction.
To improve the bonding between the two, follow the following tips:
- Keep your head and shoulders aligned with your board, and the direction you want to ride in
- Utilize your torso’s core muscles to steer the deck under you
- control the speed of the snowboard with the speed of your shoulders
Practice the Pressure
Practice till you ace it! Practicing the amount of pressure you put on your feet while turning is imperative. It should be gradual, slow, and subtle.
To start, get on the hard floor, and begin putting pressure on your toes gradually. Do it until the skin of your toes turns white. While doing so, imagine digging your toes into the sand, just enough so the sand squishes between your fingers. And there you go!
To practice optimum heel turn pressure, shift from your toes to the heels. Imagine yourself putting gradual pressure on the gas pedal of your vehicle. While driving, if you don’t want to jerk forward, you press it gently, and that’s exactly what is required.
Make a C-turn
Before you start making a C-turn, I suggest you practice garlands to warm up your body a little bit. When you are done, decide the type of turn you are going to utilize.
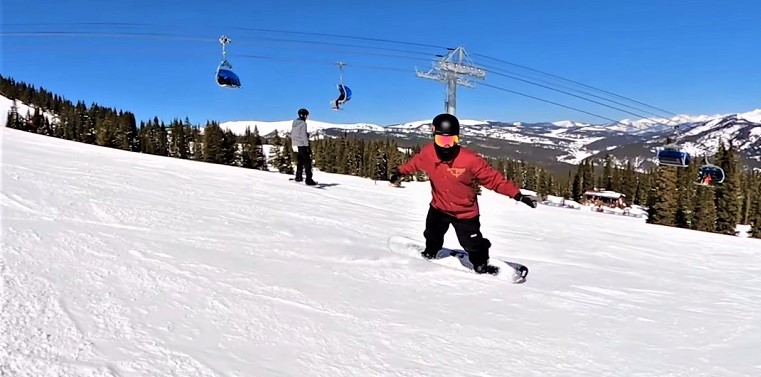
Toe turn
- Begin from heel side stance
- Press your front toes
- Pressing will make your board turn and point straight downhill.
- Now press the back foot toes
- Rotate your front knee slightly to make a C-shaped turn.
Heel turn
- Start from the toeside traverse
- Dig your front foot heel
- The snowboard will begin to downhill
- When it does, press down on the heel of your back foot
- Rotate your knee of the front foot and make a C-curve.
Types of Turns
One can initiate turn using one of the two methods mentioned below. Read about the two, practice, and decide which one works better for you.
Toeside Turns
For front-side or toeside turns, you are required to straighten your legs slightly as you extend through the feet and ankles to press against the toes while pulling the heels up.
Sounds like, what the heck to you? Well, revenge will be taken in the form of faceplants and knee bruises. Trust me, it will get easier with time.
Heelside Turns
Backside or heelside turns are accomplished using your heels instead of your toes. Turning heelside is comparatively easy because falling on your butt is less fear-inducing. Don’t you think?
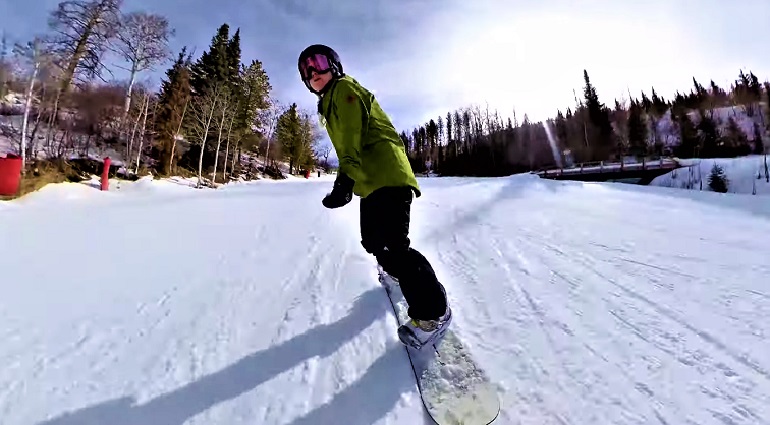
So, what you need to do is, bend your knees a bit deeper while leaning your body weight back and flexing your ankles and feet to pull your toes toward the shin. While doing so, lift your toes when digging your heels in the snow.
A life saving hint is to begin a heelside turn by putting pressure on your front foot toes and end the turn with back foot.
Quick Tips
- Keeping your head up is important
- Focus on the fall line with your head and shoulders in the same direction
- Plan your next turn beforehand
- Sync the speed of your turns with the speed you turn your shoulders and head
- Keep the hips still and over the center of the deck
- While riding toe side, turn your knees towards the tail
- For heelside turn initiation, turn your knees toward the nose of the deck
Final Thoughts
Learning these significant technical steps will make you gain a better understanding of how your body and deck work together while making turns. These steps will also make you capable of adapting according to the changing conditions of mountains too.
Trying these steps individually, acing them, and executing them on the mountain is going to enhance your hours on the snowy terrains. I mean, who even wants to pack up after a short ride or two of snowboarding? Nobody.
0 Comments