Learning how to apply brakes is as important as learning how to start a ride. Besides the how-to question, the question of when is also important.
I mean, I’m a good car driver, but when my new boss told me to have a good day, I pulled the brakes, which I clearly shouldn’t have done. And guess what? I’ve been having bad days since then. But this also saved me from wearing orange.
So, do you see? To stop or not to stop… that is an equally important question.
In this article, I will educate you on how to slow down or stop while riding a snowboard. For beginners, it is very important to master it. It is an important aspect, the absence of which will result in a recipe for disaster.
So, are you ready to keep yourself and others out of trouble? Alright! Let’s do this.
The Importance of Slowing Down
To put it clearly, it is a dangerous idea to get on riding without learning how to stop. This basic technical skill will keep you safe from visiting clinics, hospitals, angels, or grim reapers.
Believe me, the ability to stop isn’t all about stopping or slowing down, as it also opens various avenues of snowboarding. In short, if you want to become a pro, you need to learn how to slow down on a snowboard when necessary.
How to Slow Down & Stop on a Snowboard
There are mainly two ways to stop: by the heel or toe-side edge. Let me explain both of them separately for you to easily understand and practice.
Stopping on Your Heel Edge
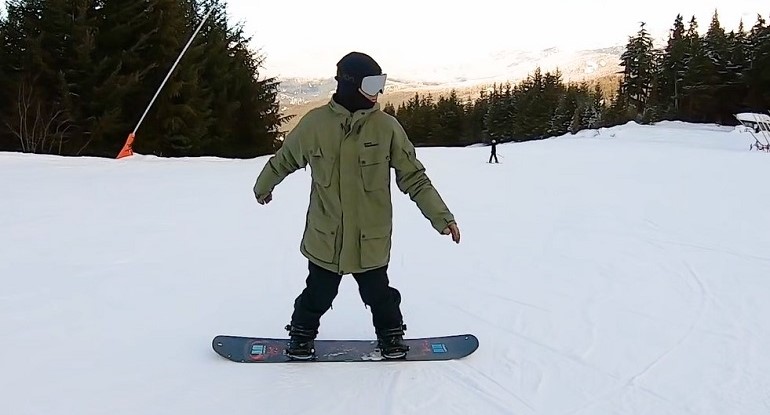
You need to select a beginner slope and stand on it with your body and board pointing downhill. At this level, you are expected to stand in that basic stance but with your knees bent, and try to stay low. Do not think of rotating yet.
If you are standing on steep terrain, you will start sliding down the hill immediately. While doing so, concentrate on what edge control feels like, and think about pressing your heels into the board and lifting your toes slightly.
Now here is where people tend to mess up. Remember! you are not flexing, so don’t flex the foot but press only.
When you master lifting your toes off the ground, start practicing going down the hill in the same position as mentioned earlier, but with your body and board perpendicular to the slope.
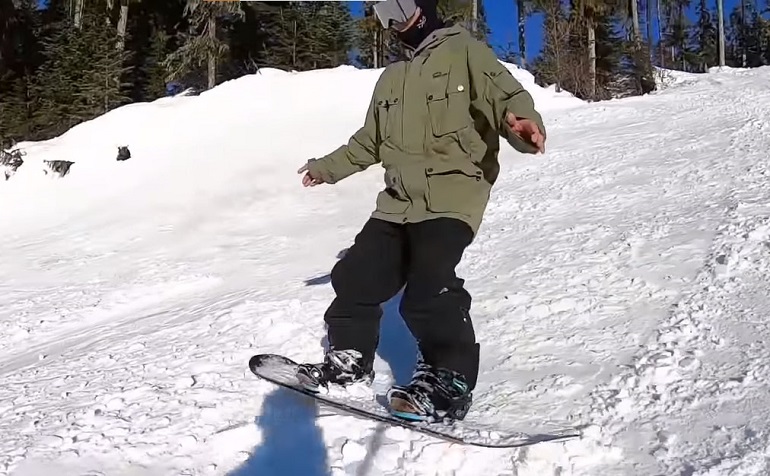
Now the question is how to do it so. Alright, my friend! Begin by rotating your upper body and hips slightly towards the nose of the board as if you are reaching forward with your back arm and hand.
This motion will create tension between your shoulders, hips, your snowboard, and your whole body, which can force the board to rotate. Once you get in the perpendicular position, apply pressure with heels on the board, as it’s what is going to make you stop.
Now rock your snowboard steadily onto your heel edge, then try to counter-rotate your torso back and push your back foot forward and the heel edge into the snow. Pursuing your ride in such a manner will help to control speed and make you feel yourself slowing down gradually. And this is it!
Stopping on Your Toe Edge
This technique follows the same principles as the heel edge, but it comes trickier. So, let’s get into it.
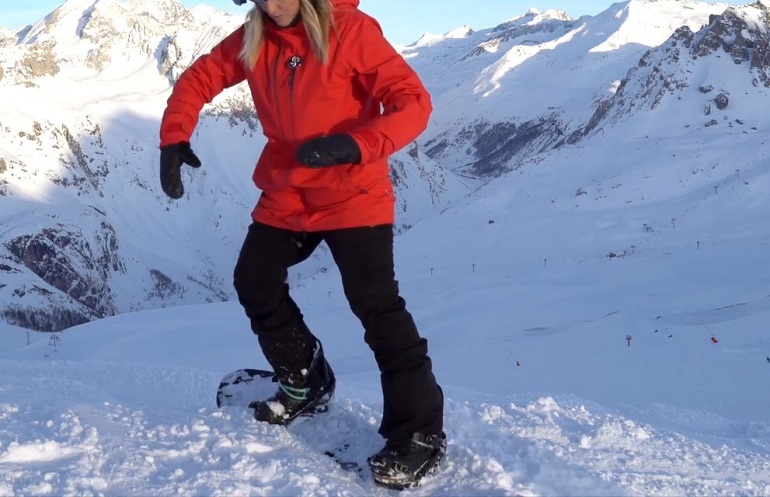
The very first thing you need to do is rotate your shoulders to the snowboard tail before leaning slightly onto your toe edge. Next, use the counter rotation way as you did in the heel edge technique and push rotate your hips down the hill so that you are facing uphill.
The rule is to imagine yourself tiptoe walking like you are standing on the balls of your feet. Also, remember that taking the instructions literally will make you fall forward flat on your face.
To stop your snowboard, press the toe-side edge of the board into the snow, and slightly lift your heels. Keep in mind that putting pressure on your tow-edge will bring you to a stop otherwise, it is no use. While doing so, stay entirely facing uphill with your board in the horizontal direction.
Different Techniques to Slow Down or Stop
There are a number of ways that allow slowing down. Just so you know, besides the below-mentioned ways, you can also explore other techniques like turning snowboard and carving, and basic slides for stopping.
We will look at some of the most common ones that are mostly recommended for both beginner snowboarders and intermediate snowboarders.
Applying and Releasing Edge Pressure
The most common way of slowing down is by applying snowboard edge pressure. Firstly, let me explain what that really is.
When you flex down your snowboard through the lower body, you are creating edge pressure and friction. When you extend up, you are releasing that same pressure you produced.
So, if you don’t know how to slow down by applying edge pressure, remember to use flexion always as your fundamental technique for stopping the board.
For better results, fix your stance and even your weight on both feet. It is important as generally when we progress faster and reach high speed, we tend to put weight onto the back foot, which is wrong. So, an equal weight division on both feet brings you across the fall line.
Using Turn Shape to Slow down on the Snowboard!
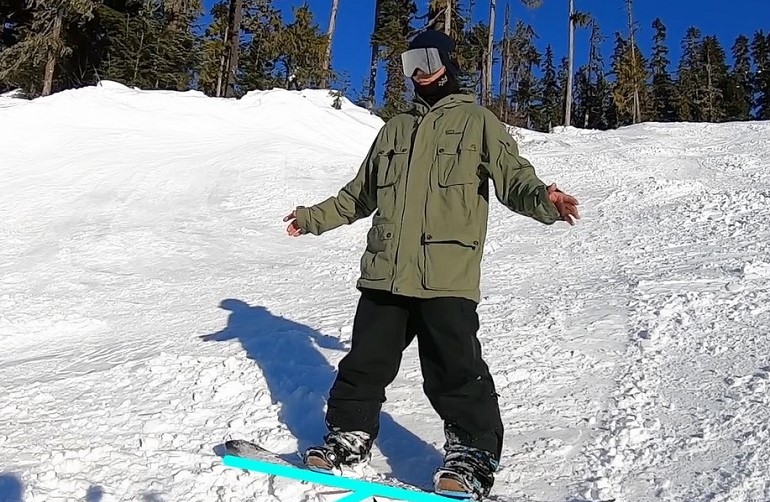
Generally, we use two types of turn shapes in this snow sport: an open turn (unfinished) or a closed turn shape (finished). When learning to slow down, a closed turn shape is always recommended. It is a shape in which a rider steers the board across the hill, perpendicular to the fall line.
But before you initiate a turn, do not forget to get rid of that speed. Remember to steer your board back up the hill to wash away access speed before committing to a new turn.
How to Slow down on the Snowboard Using Terrain
This idea is more geared towards professionals or intermediates. And the principle is to use banks or even moguls to help wash away speed when you end up generating too much speed on icy terrains, especially black trails.
When you are riding steep terrains in a straight line, you gain more speed which you should get rid of through the turn phase and back across the fall line. So, stay soft in the legs, use great flexion and extension, and be assertive in the edge control.
PIVOT Turn for Slowing down When Snowboarding!
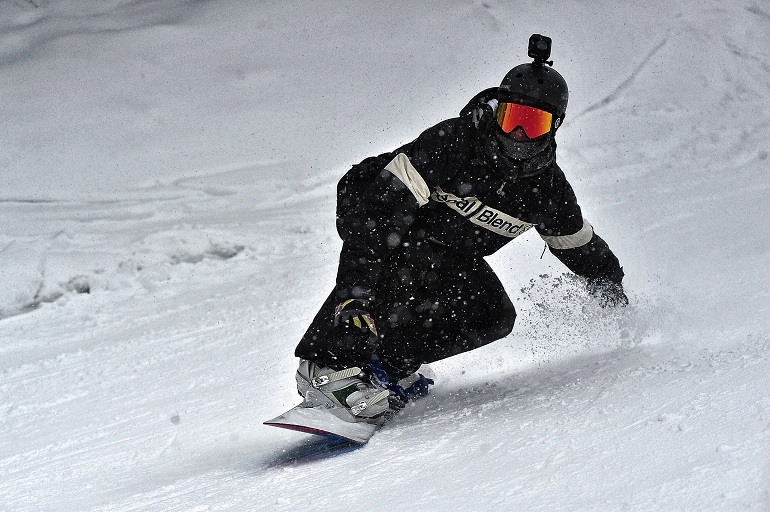
In this technique, you are expected to keep your weight over your front foot, also instead of making a C turn while flexing down with even weight on both feet, you are required to kick the back foot around, so your board comes back on the fall line.
This technique is only recommended for advanced riders or professionals. Why? Because it demands a good amount of effort, correct anticipation, and good stance skills, which are not usually a forte of a rider in the beginning.
Final Thoughts
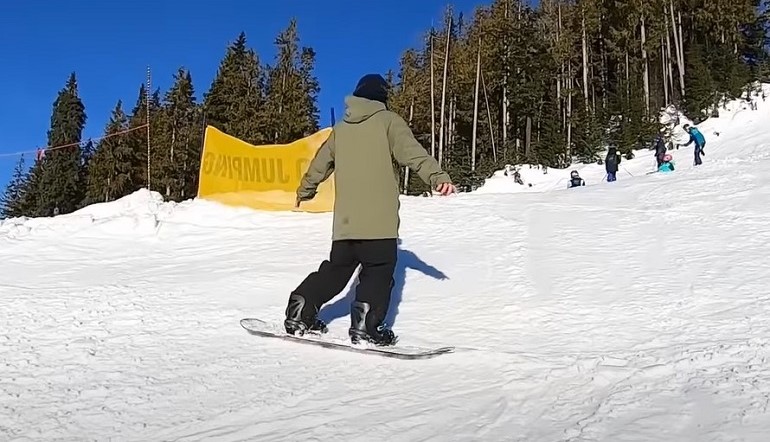
Learning to stop and slow down is a must for snowboarders. One cannot explore the horizons of snowboarding without learning this basic skill. I mean, a missing body part will get you nowhere, don’t you agree? I’m sure that you do.
So, by following the explained practices, one can easily try these different methods and select one which suits best. Once you have mastered a method, you feel your confidence boosting like crazy.
0 Comments